Homebrew

Home › Articles › Homebrewing Basics
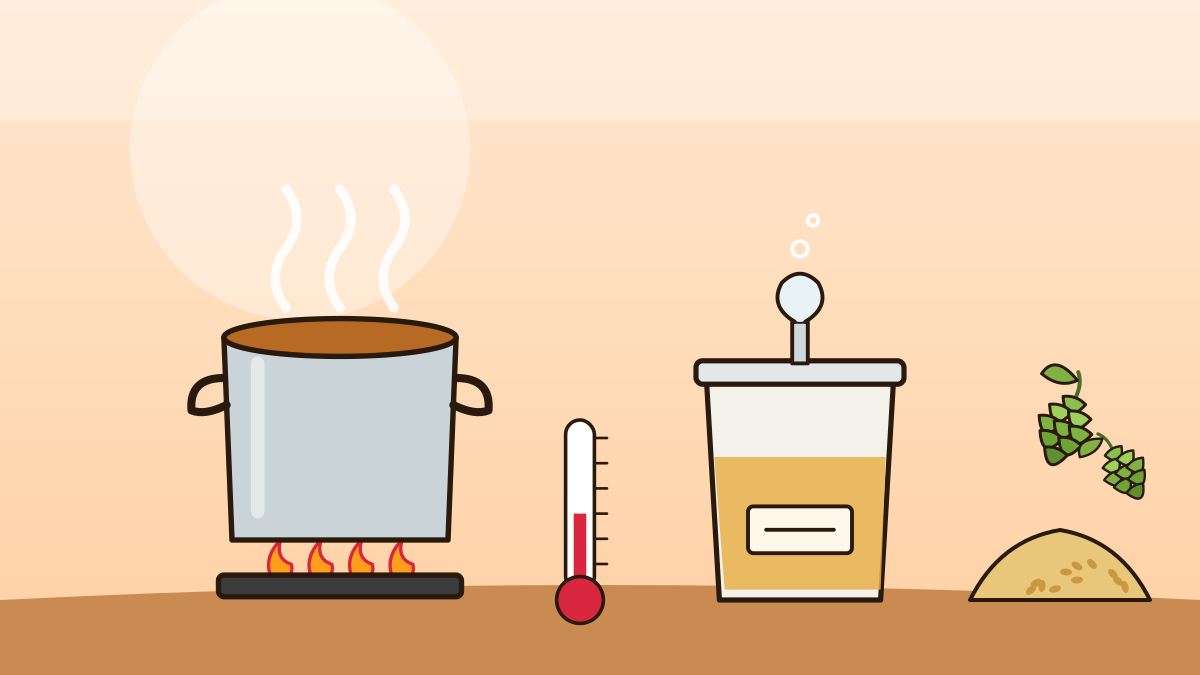
Brewing your own beer is part cooking, part chemistry and part patience. The easiest place to start is extract brewing, where a malt extract (concentrated sugary wort) replaces the grain-mashing step that all-grain brewers do. You still boil, hop, ferment and bottle, and you can make genuinely good beer on a kitchen stove. This guide walks through a typical five-gallon (about 19-litre) batch.
Check the rules where you live. In the United States, brewing beer at home for personal use has been federally legal since 1979 and is now permitted in all 50 states, within household volume limits; selling homebrew requires licensing. Rules differ elsewhere, so look up your local regulations first. Homebrewing is for adults of legal drinking age.
Many shops sell starter kits that bundle most of the equipment below. If you assemble your own, this is the core list.
For ingredients, most beginners buy a recipe kit, which bundles liquid or dry malt extract, a small bag of crushed specialty grains for colour and flavour, hop pellets, a packet of yeast and priming sugar. A pale ale or an amber ale is a forgiving first recipe; lagers need cold fermentation control and are better saved for later.
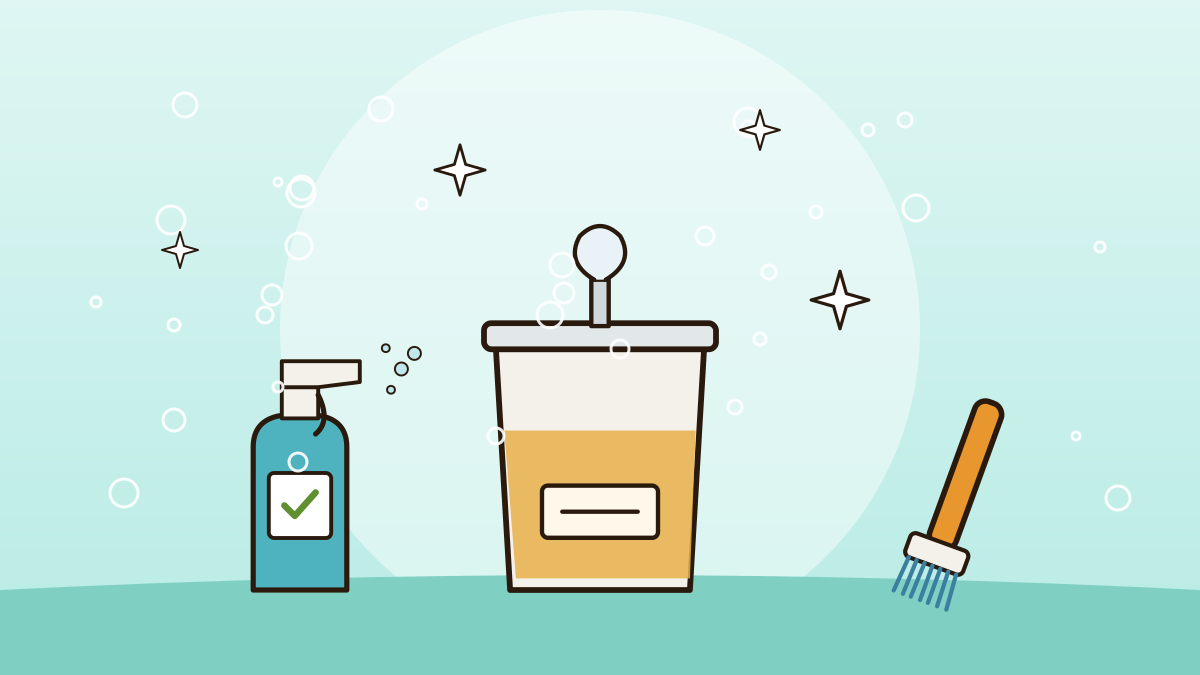
1. Clean and sanitise. Anything that will touch the beer after the boil must be sanitised. The boil itself sterilises the wort, so the kettle only needs to be clean. Our cleaning and sanitising guide explains the difference.
2. Steep specialty grains. Heat about 2.5–3 gallons of water. Put the crushed specialty grains in a mesh bag and steep them around 150–170°F (65–77°C) for 20–30 minutes, like a giant tea bag. Remove the bag and let it drain; do not squeeze hard, which can pull harsh tannins.
3. Add extract and boil. Take the pot off the heat, stir in the malt extract until fully dissolved (so it does not scorch on the bottom), then bring it back to a rolling boil. Watch closely at the start: foam can surge up and boil over in seconds. Lower the heat or spritz with water if it climbs.
4. Add hops on schedule. A typical boil lasts 60 minutes. Hops added at the start contribute bitterness; hops added in the last 15 minutes give flavour; hops added at the end or after the heat is off give aroma. Your recipe will tell you when to add each.
5. Chill quickly. Cool the wort to yeast-friendly temperature, usually around 65–70°F (18–21°C) for ales, as fast as you can. A sink ice bath works for partial boils; an immersion chiller is faster. Quick chilling reduces the chance of infection and helps clarity.
6. Transfer, top up and measure. Pour or siphon the cooled wort into your sanitised fermenter, top up with clean, cool water to five gallons, and take a hydrometer reading. This “original gravity” tells you how much sugar is available.
7. Pitch the yeast and seal. Add the yeast, fit the lid and a sanitised airlock half-filled with sanitiser or boiled water, and move the fermenter somewhere dark with a steady temperature.
Within a day or two the airlock should bubble and a foamy layer called krausen will form. Keep the temperature steady and in the yeast's preferred range; warm fermentation is one of the most common causes of harsh, solventy homebrew. Primary fermentation usually takes one to two weeks. Bubbling slowing down is not proof that it is finished. Take hydrometer readings two or three days apart: when the gravity stays the same and is near your recipe's expected final gravity, fermentation is done.
Dissolve the priming sugar from your kit (or the amount a priming calculator gives for your volume and style) in a little boiling water, cool it, and add it to your sanitised bottling bucket. Gently siphon the beer on top, leaving the sediment behind, and avoid splashing, which adds oxygen. Fill sanitised bottles, cap them and store them at room temperature for about two to three weeks while the yeast eats the sugar and carbonates the beer. Then chill one, open it and taste.
Two safety points matter here. Never bottle before fermentation is truly finished, and never add more priming sugar than the recipe or a calculator calls for: too much sugar can over-pressurise glass bottles until they burst. And always use caution with large pots of boiling liquid, which are heavy and can cause serious burns.
Rushing is the big one: bottling too early, opening bottles too soon, or skipping sanitation because the equipment “looks clean.” Others include fermenting too warm, using chlorinated tap water without treating it (which can produce medicinal flavours), and letting finished beer sit warm in the light. Keep notes on every batch: date, recipe, temperatures and gravity readings. Your notebook will teach you more than any single recipe.
Roughly four to six weeks for a typical ale: about two weeks fermenting and two to three weeks carbonating in the bottle, plus a few days in the fridge.
All-grain brewers mash crushed malt in hot water to extract sugar themselves. Extract brewers use a ready-made concentrated malt extract, which saves time and equipment.
Common causes include fermenting too warm, using too much simple sugar, or an infection. Controlling fermentation temperature solves many of these issues.